Showing posts with label Diy Jewelry. Show all posts

Friday, August 22, 2014

DIY Fabric Ribbon Rings with felt flowers


Hello Everyone,

Here another great DIY! I have made dozens of these DIY Fabric Ribbon Rings with felt flowers.


Blessings to you !
Shemi


Friday, August 15, 2014

DIY St Therese Sacrifice Beads /Good Deed Beads


Hi to all, 


Today we going to make DIY St Therese Sacrifice Beads /Good Deed Beads.

"St. Therésè, the Little Flower, as a child, used a small string of beads in her pocket to help her count the gifts she did to offer to God. In this way she was able to advance in perfection daily. You too, can grow in holiness by following the example of the Little Flower.

Sacrifice Beads or Good Deed Beads are a string of ten beads, which can be pulled and remain in place. They are used to count the acts of love or sacrifices a person makes in a day for God. The string of beads helps a person to grow in virtue by challenging them to be faithful in making acts of love each day. Sacrifice Beads also have a fixed Our Father bead on the end of them and can double up as a rosary."

Link to more information about St. Therese

I sell these in my shop Here!


Thanks for visiting!
Blessings 
Shemi 


Wednesday, January 1, 2014

DIY Upcycled/Recycled Paper Clip Glass Beads Jewelry

 DIY Upcycled/Recycled Paper Clip Glass Beads Jewelry


Hi Everyone,

Hope you're having or had a wonderful New Years Day.
Happy New Years!!


I wanted to share a really quick, easy, cheap DIY Craft project to day. I love saving money and jewelry supplies can add up. 

So, one day I was in the craft store and this friendly lady saw me buying wire, we start talking about how expensive crafting wire can be, and she commented on how she uses paper clips to make earrings eye pins. She said all she does is open the paper clip,  cuts it in the center to create two pieces , make loops at one end of one of the  paperclip wires, adds beads and finally make a loop on the other end and attached earring hook . 

Well you know I had to tried. I had great success with her helpful suggestion . The wire from the paper clip is ridged and paperclips are supper cheap ( you get like 100 of them for less than a dollar).  You can select whatever beads you want, I used glass.  I want to show you  how easy it is  to create beautiful earrings on the cheap.

Let's Start :)

Here the supplies you need

1 regular sized Paper Clip
6-8 beads ( I used glass beads and 4-6 small glass seed beads)
 Wire Cutters
Round nose pliers
Flat nose pliers
2 Earring Hooks


1) Take your paper clip and  Open, and straighten it as much as you can flatten piece of wire. It's okay if the wire isn't fully straight. The beads will cover the bend  parts of the wire.


2) Now eye ball the center of the wire and cut in half.


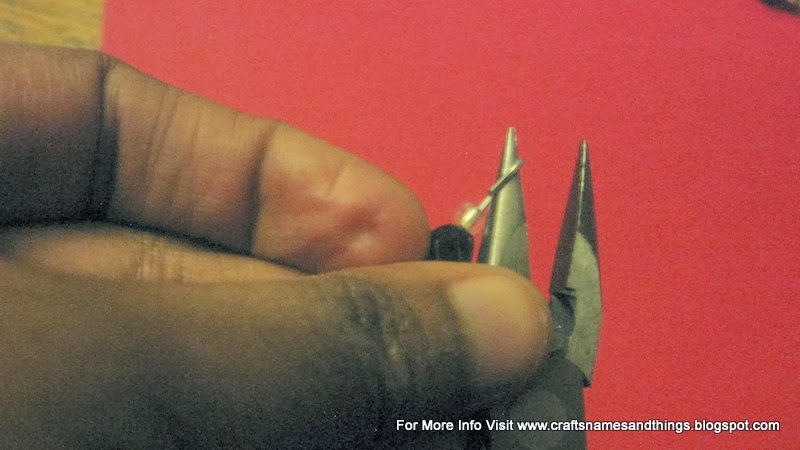
3) Grab one piece of your wire and on one end create a loop with your round nose pliers. You so this by opening you pliers and placing the wire between the pliers and rolling it to one side until you form a loop. I like to create a medium sized loop so I go about  half way down my round nose pliers.  Straighten the loop of the stem. Now repeat with the second piece of wire.


4) Add your beads to your handmade eye pins (wow you:) and make a loop at the other open end (The end without the loop).


5)  Now it's time to add your Earring hooks. Grabbed you beaded links( or the beaded eye pins you just created), open the loop of the  end you want your earring hooks on and attach the earring hooks.
I do this by twisting the loop up/open and slipping on the earring hooking. I then close the loop by twisting the loop back/down.
 ( I hope that sense, if not I can make you a video)


6) Finally Bask in your creative genius. Check you out,  my crafty  friend. You did it.   

Thank For Your Time :)
Please Post Your Creations Here!
And Pin and Pin Away


If you have any Questions please contact me. I will get back to you. 

Your comments and questions are important to me.
Blessings
Shemi


Tuesday, December 31, 2013

DIY Crochet Necklaces Tutorial with Pictures Updated with Video


Hi Everyone,

Today I am going to show how to make your own DIY Crochet Necklaces.
 
They look like beads, but they're not! My handmade crocheted ladder ribbon necklaces are a light, bright, colorful scarf alternative made from yarn! A fun way to dress up a T-shirt or turtleneck!

These crocheted necklaces are so light, you can't even tell you have one on!

And look! No clasps! You'll never have to ask for help putting this necklace on. Each crocheted necklace is adjustable--just slide the bead to adjust the length. You can wear it as a choker, long or in between. Ideal for travelling and for women with arthritic fingers or metal allergies.

You can even wear one as a headband! They make great gifts too--just drop it in an envelope to mail to your BFF.

I love these and their easy to make.

Check out my new you-tube video to see me create a crochet necklace from start to finish,  at the end of this post. 


Let's  Start.

Here What you need to start.


Supplies:


Bernat Matrix trellis yarn or similar. ( I found mine at Walmart)


Size J or similar crochet hook.

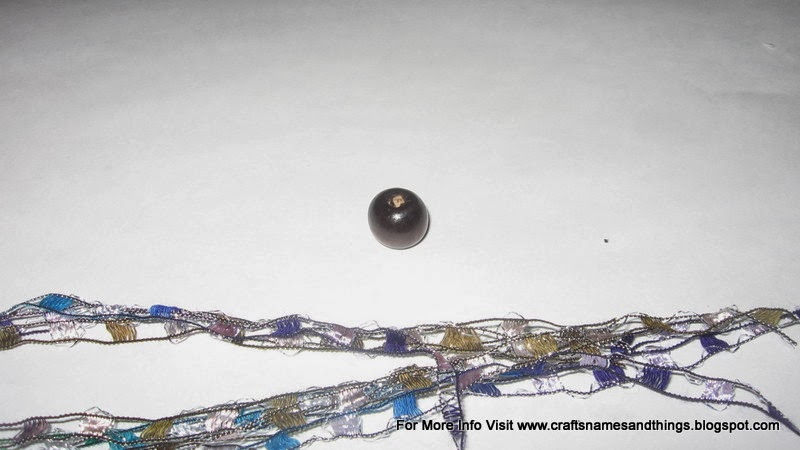
 Large Bead  with large opening


Ruler


Scissors


1) Measure out a 12 inch tail of your yarn and then make your slip knot to begin your crochet.


2) Simply chain stitch for 15 inches


3)Keeping your hook in the last chain, measure out another 12 inches and cut your yarn.


4) Pull your 12 inch yarn tail through your last loop to secure your chain and remove your hook. Repeat this process to make three strands for your necklace.


5) Group your three strands together, line up the strands and cut to equal lengths.  Make a knot at the beginning and end of your chains.


6) To make an adjustable closure, we will add the large bead (bead with large opening).  Thread one side of your yarns through your bead .  Now thread the other side of the strands.  Now thread the other side of the strands.  Make a couple knots to secure your bead and trim the excess yarn. Trim your excess yarn.


7) Now bask in your creative genius. You did it and I knew, you could . It’s beautiful.  


Post  pictures of your creations here.


What’s your Favorite piece of jewelry ? Why?


As Always if you any questions please comment


below, and I  will get back to you. Your comments


are important to me. If you take  the time to


comment and look at my blog post the least I can


do is reply to you.


Thanks For your Time


Blessings


I sell My Crochet Necklaces in Here
 
For More Craft Ideas Visit Here